French Grain Free Crepes

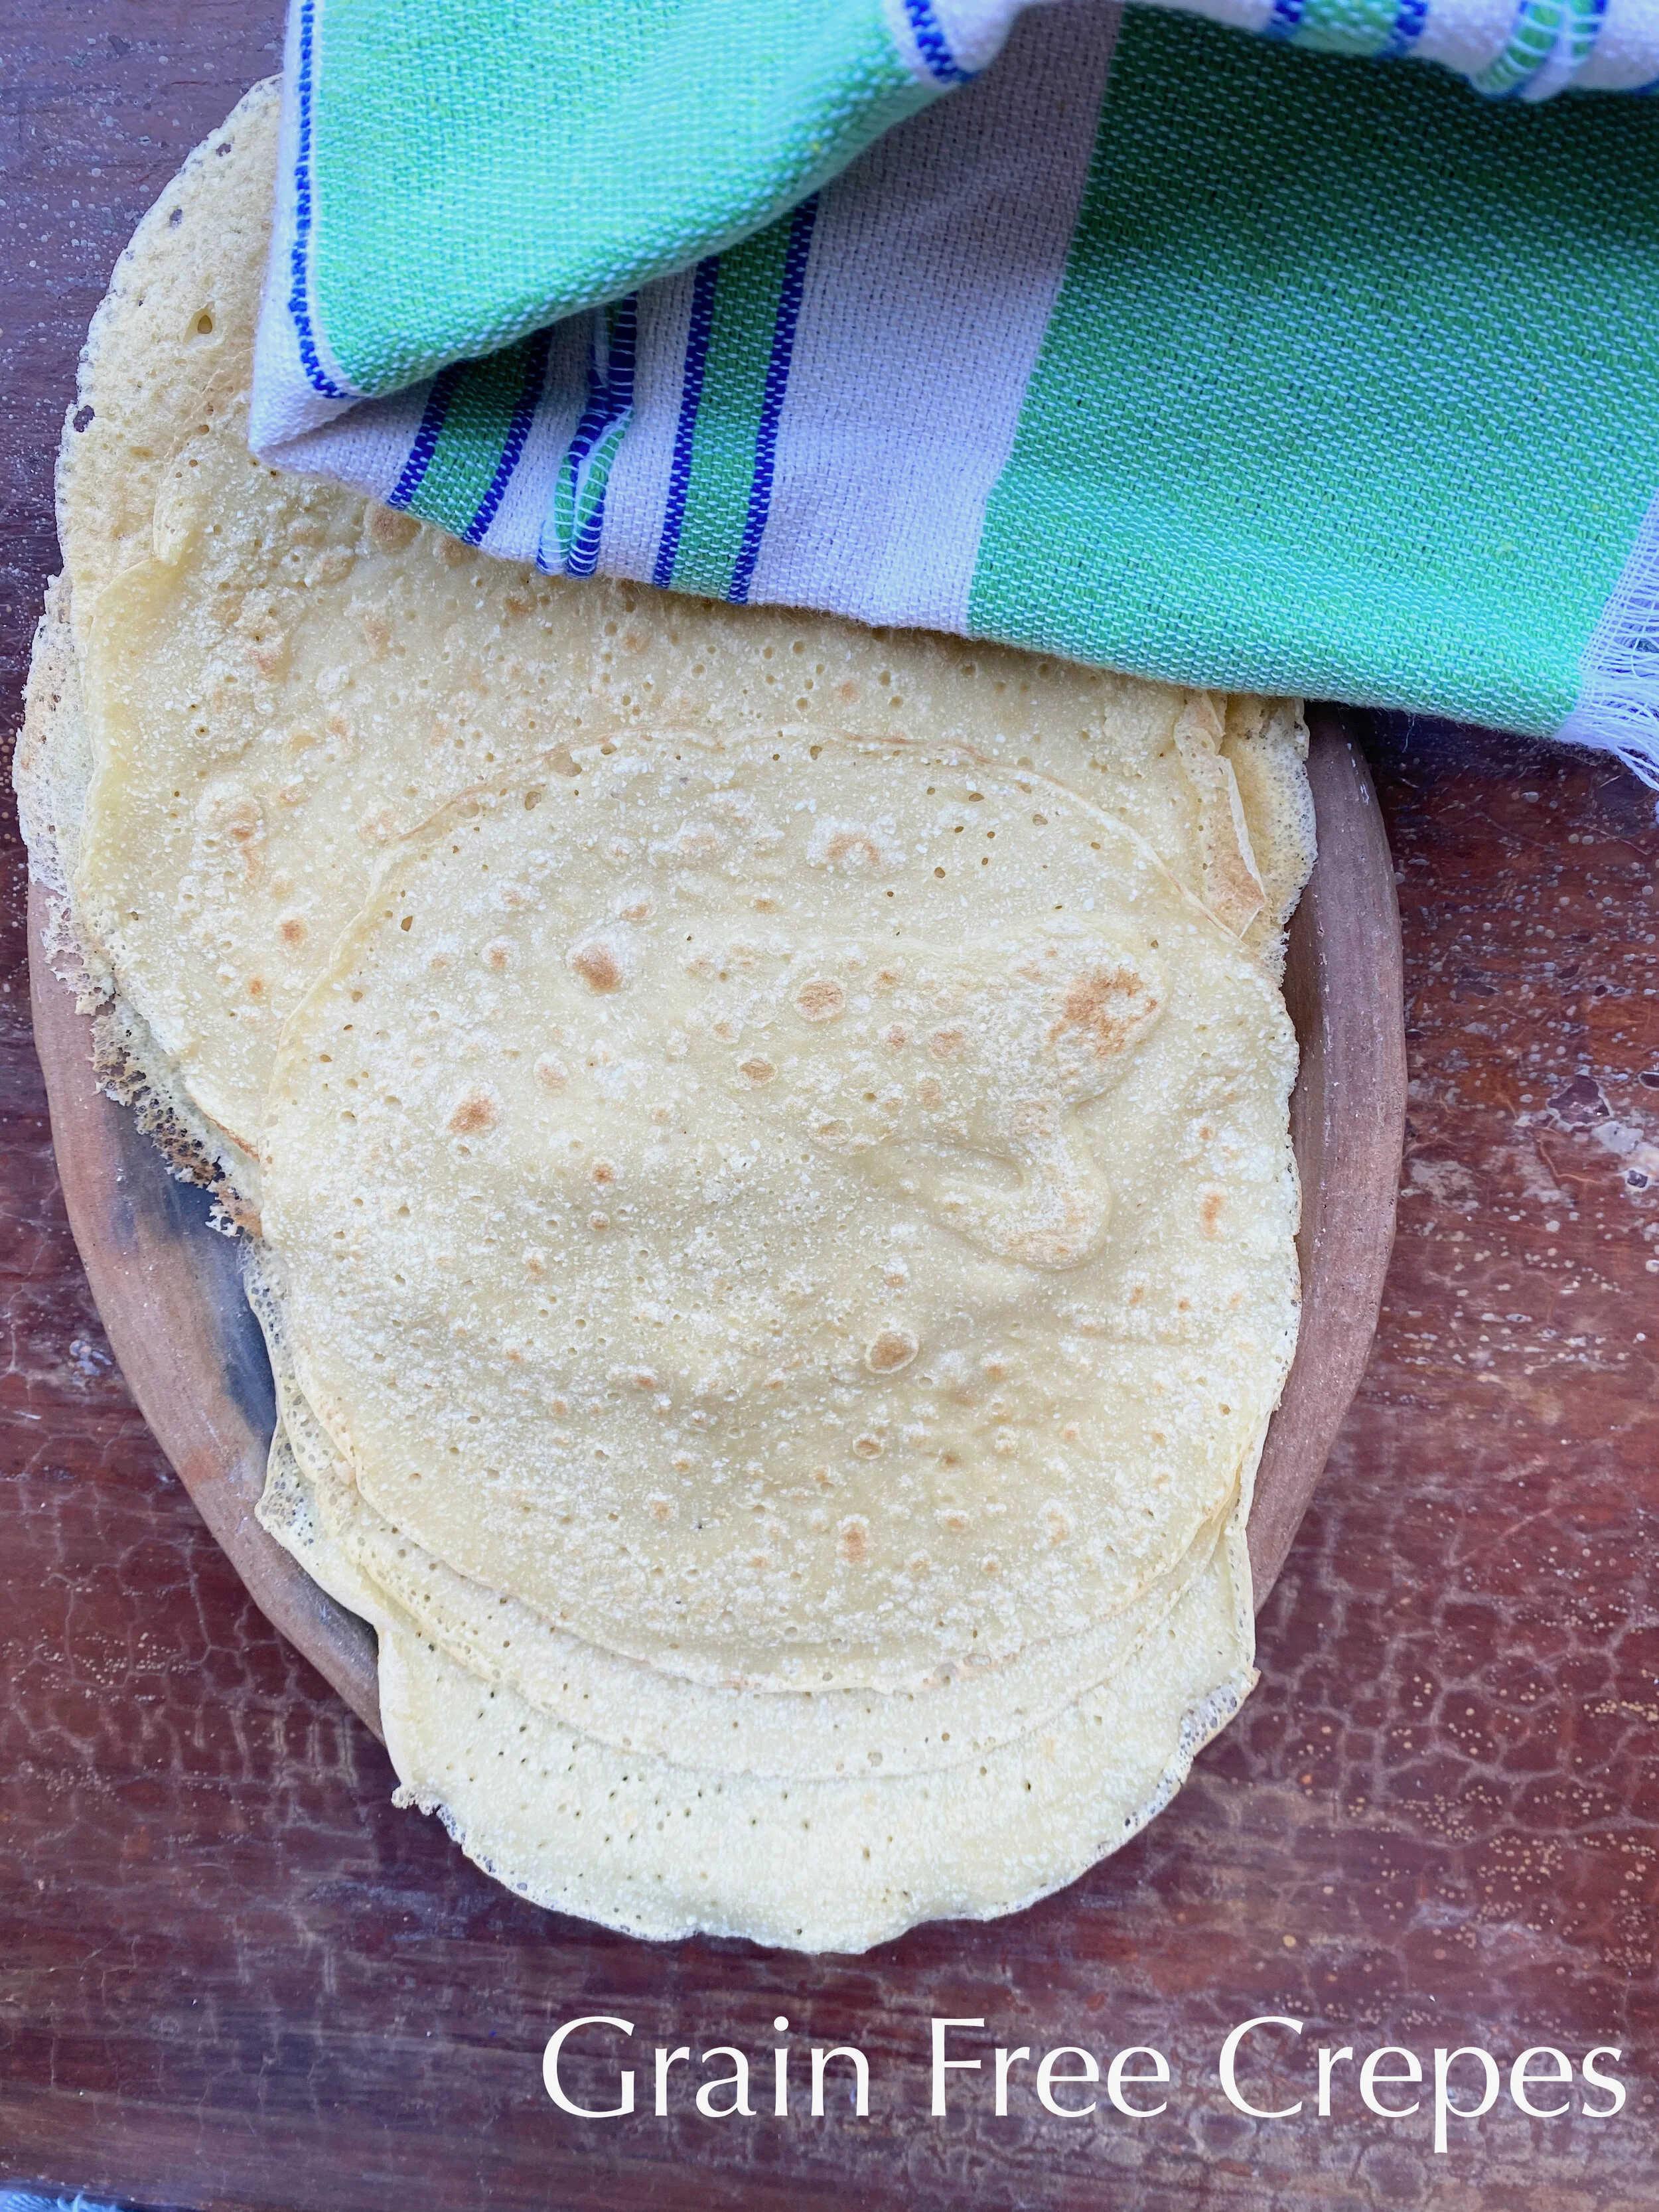
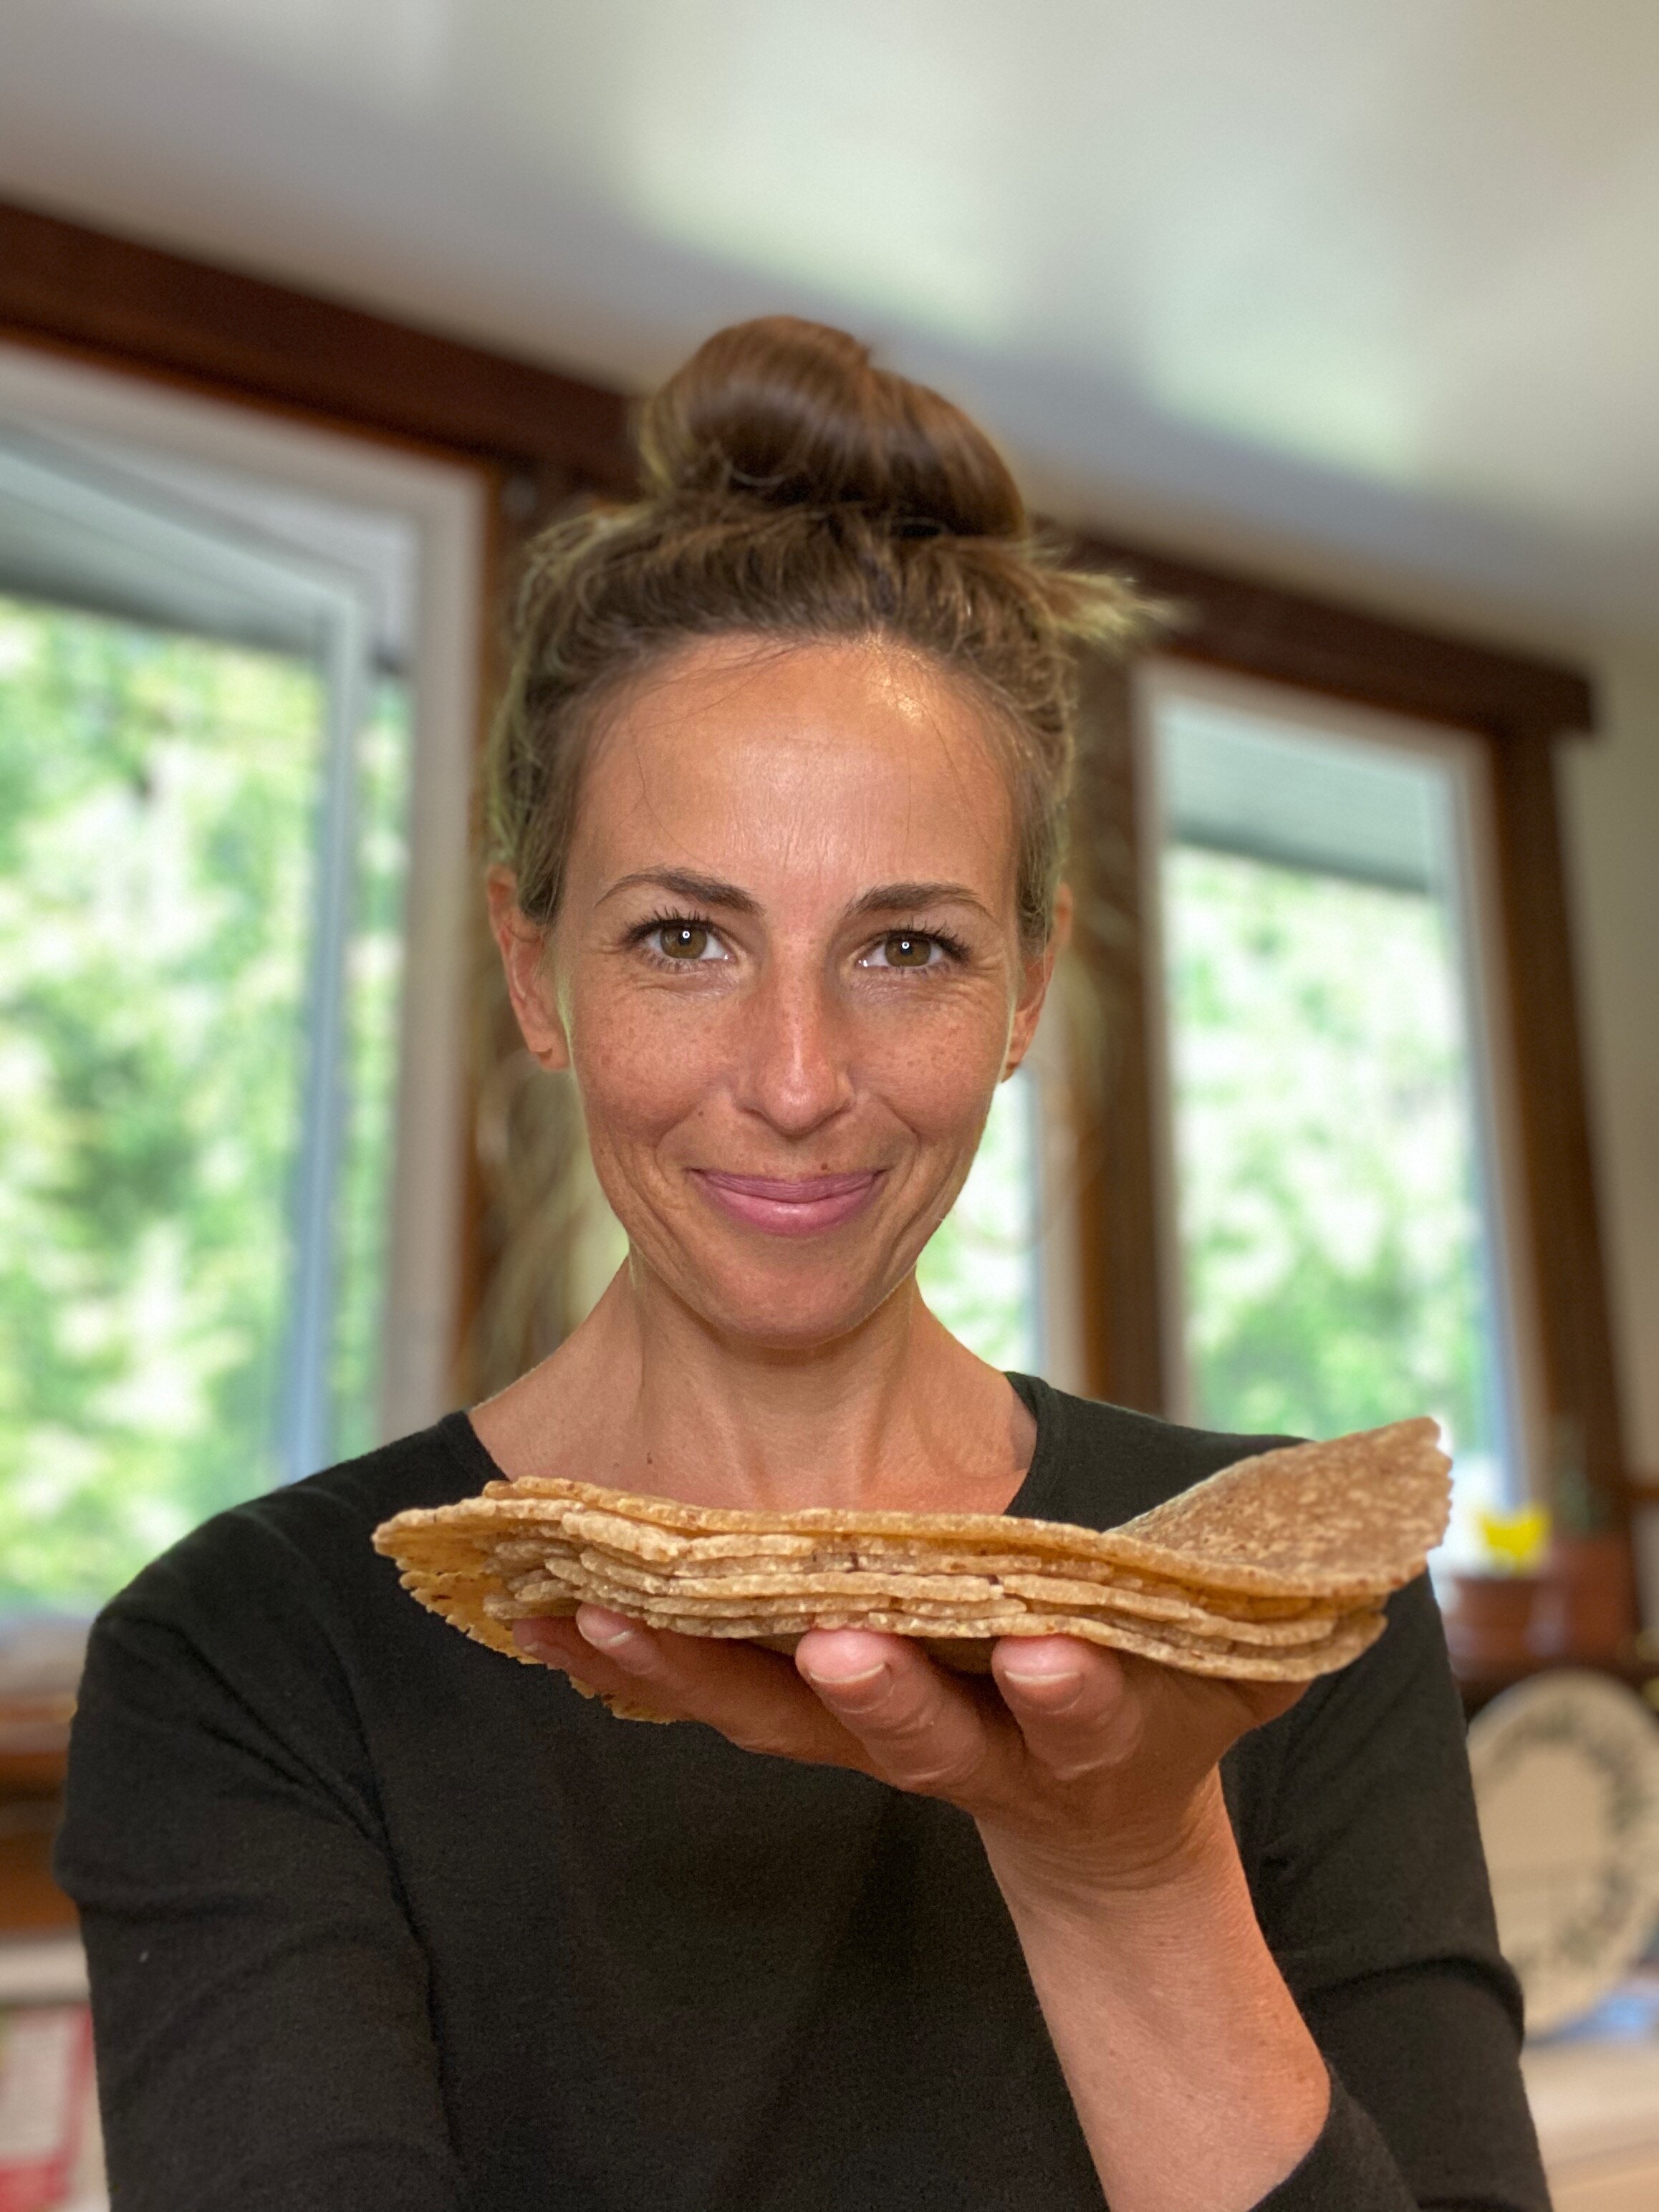
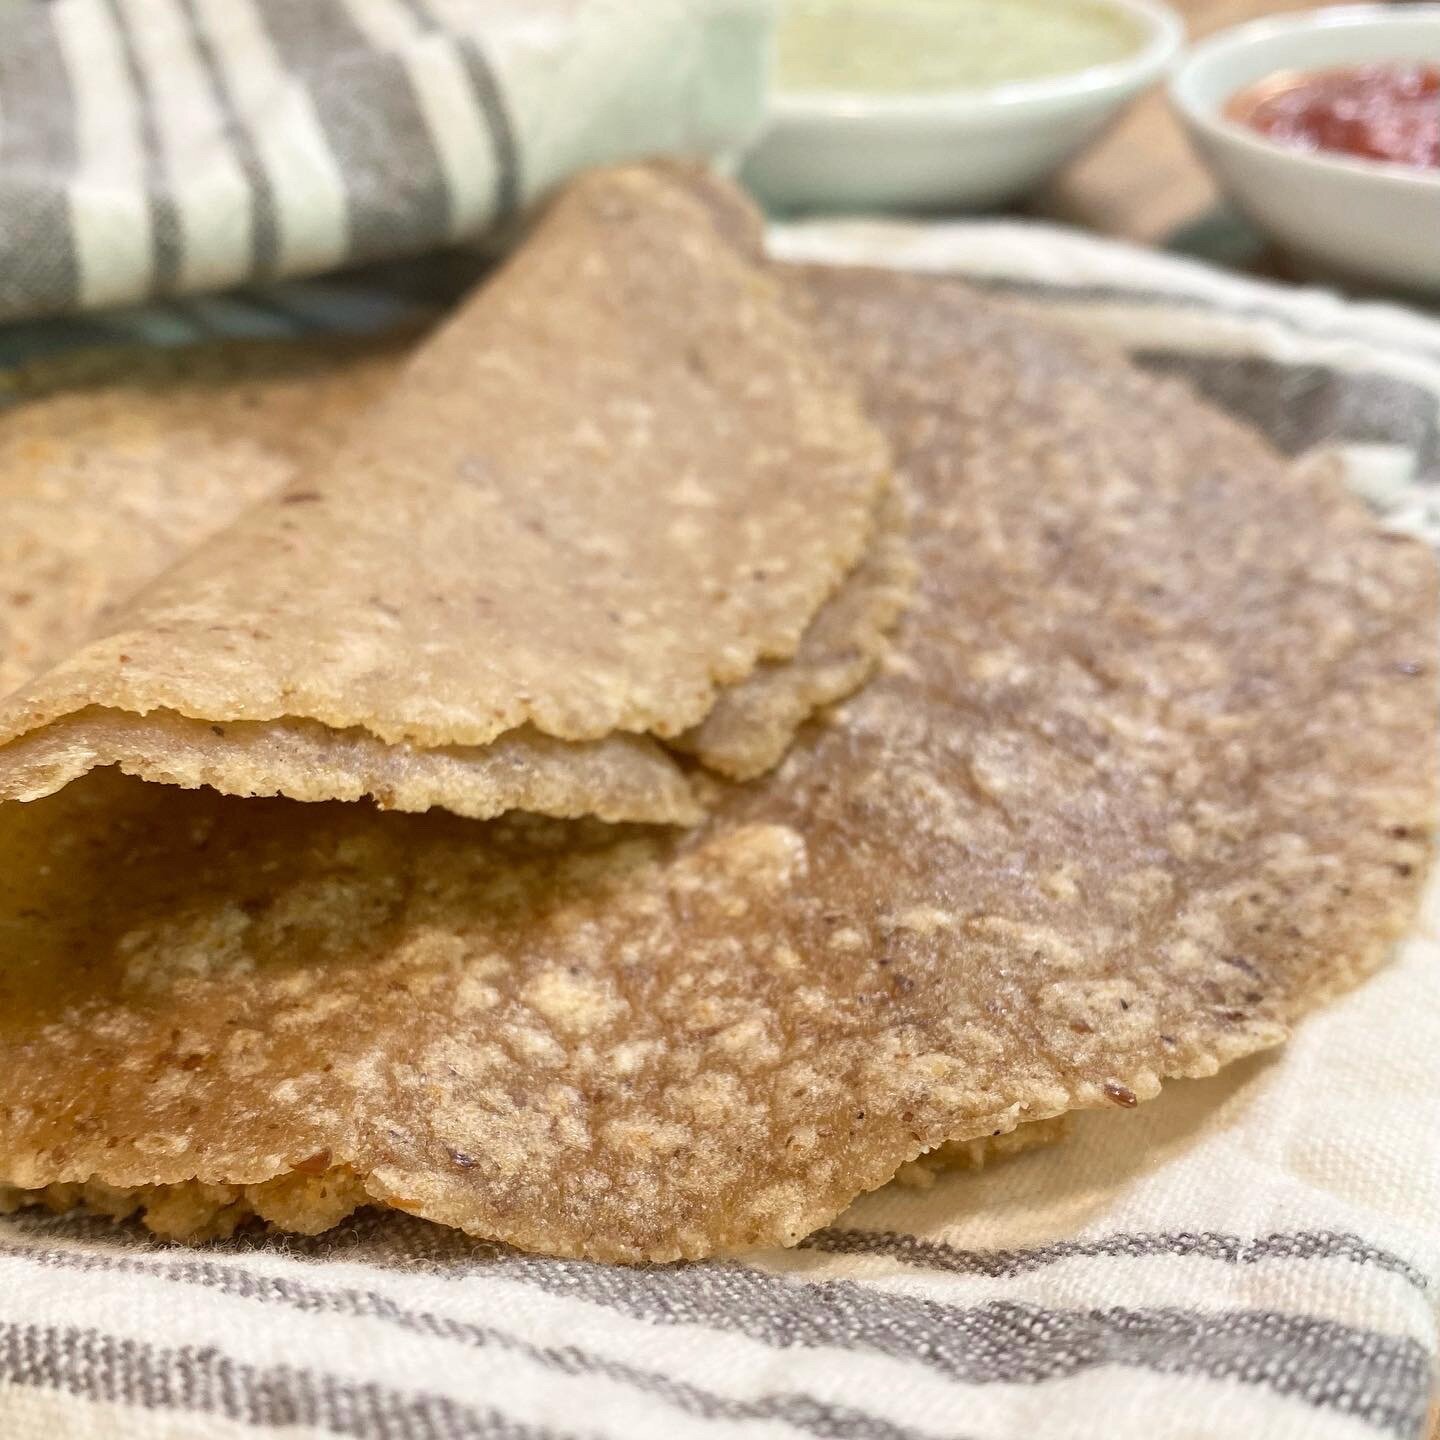
OH MY GOODNESS!!!!! French crepes are one of my favourite things and I think I have mastered a grain free, sugar free, dairy free version. I really do not think you would notice the difference. In a pinch, I stuff these babies with nut butter, banana and drizzle with some raw honey. I hope you love them as much as I do.

Yield 8-10 crepes
Grain free, gluten free, dairy free
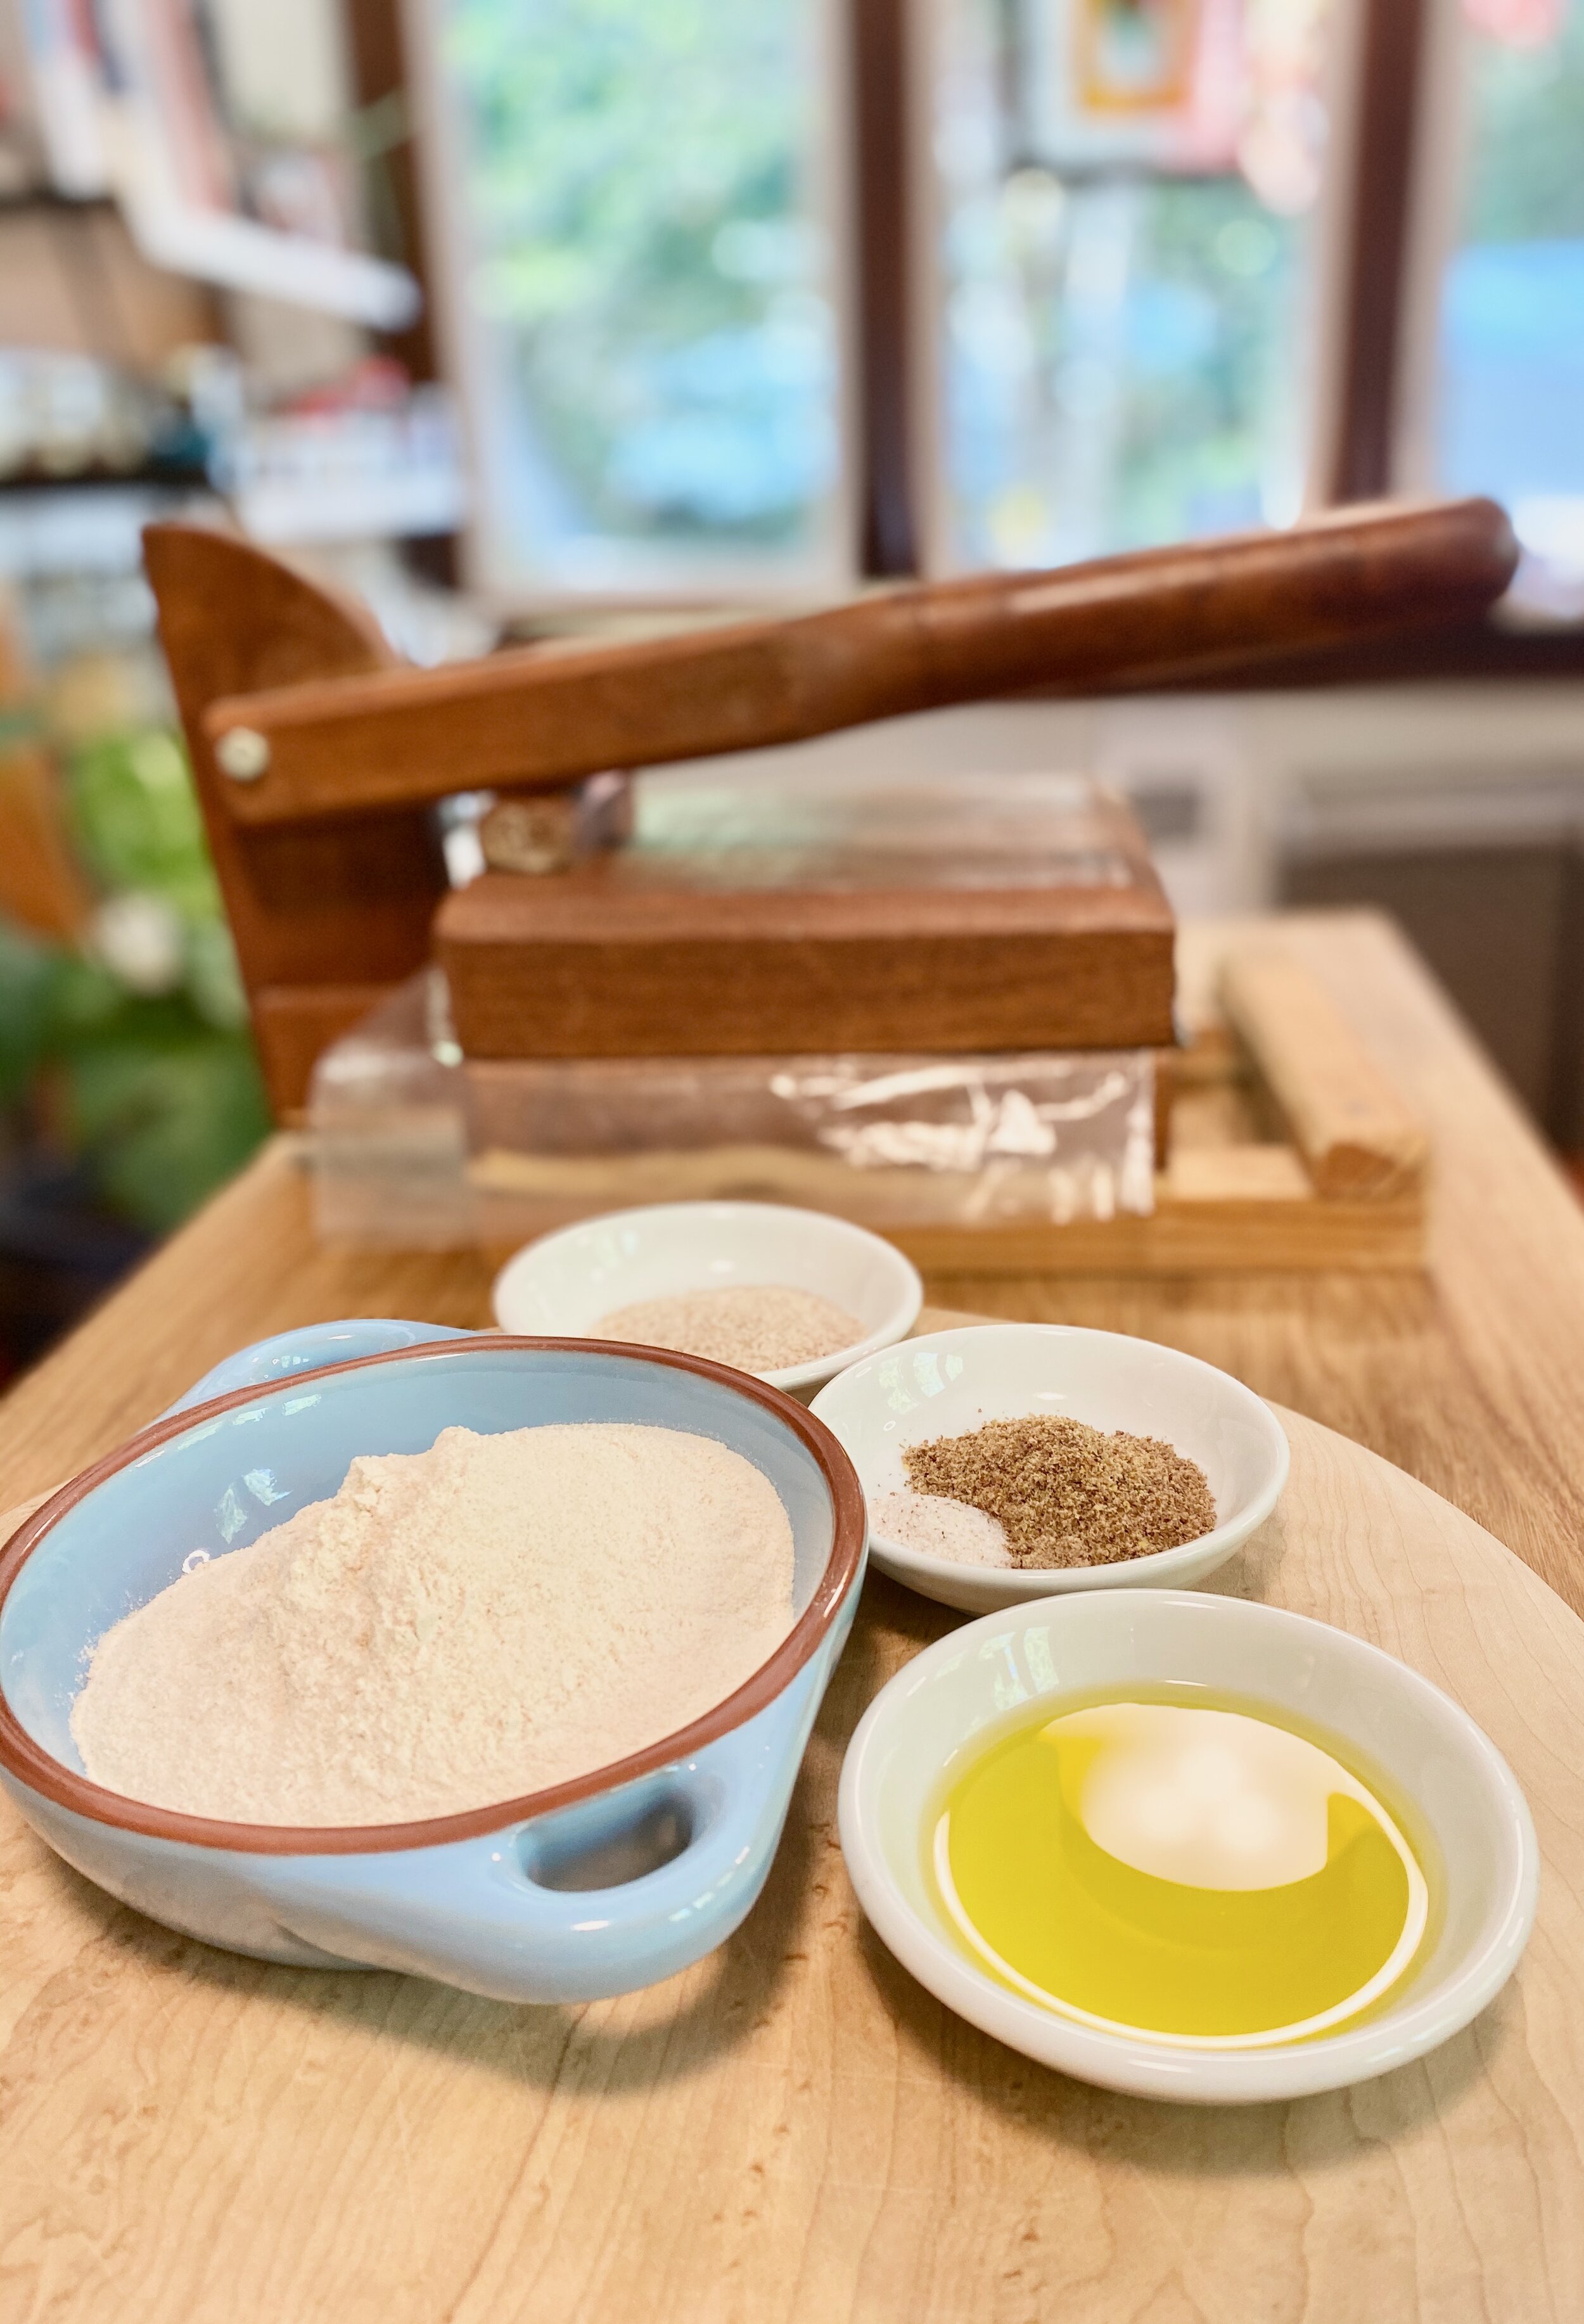
Ingredients
2 eggs
1 cup coconut mylk
1 teaspoon melted coconut oil or butter
1 teaspoon vanilla extract
¾ cup tapioca flour
4 tablespoons coconut flour

Method
Add all ingredients to a blender and blend until smooth.
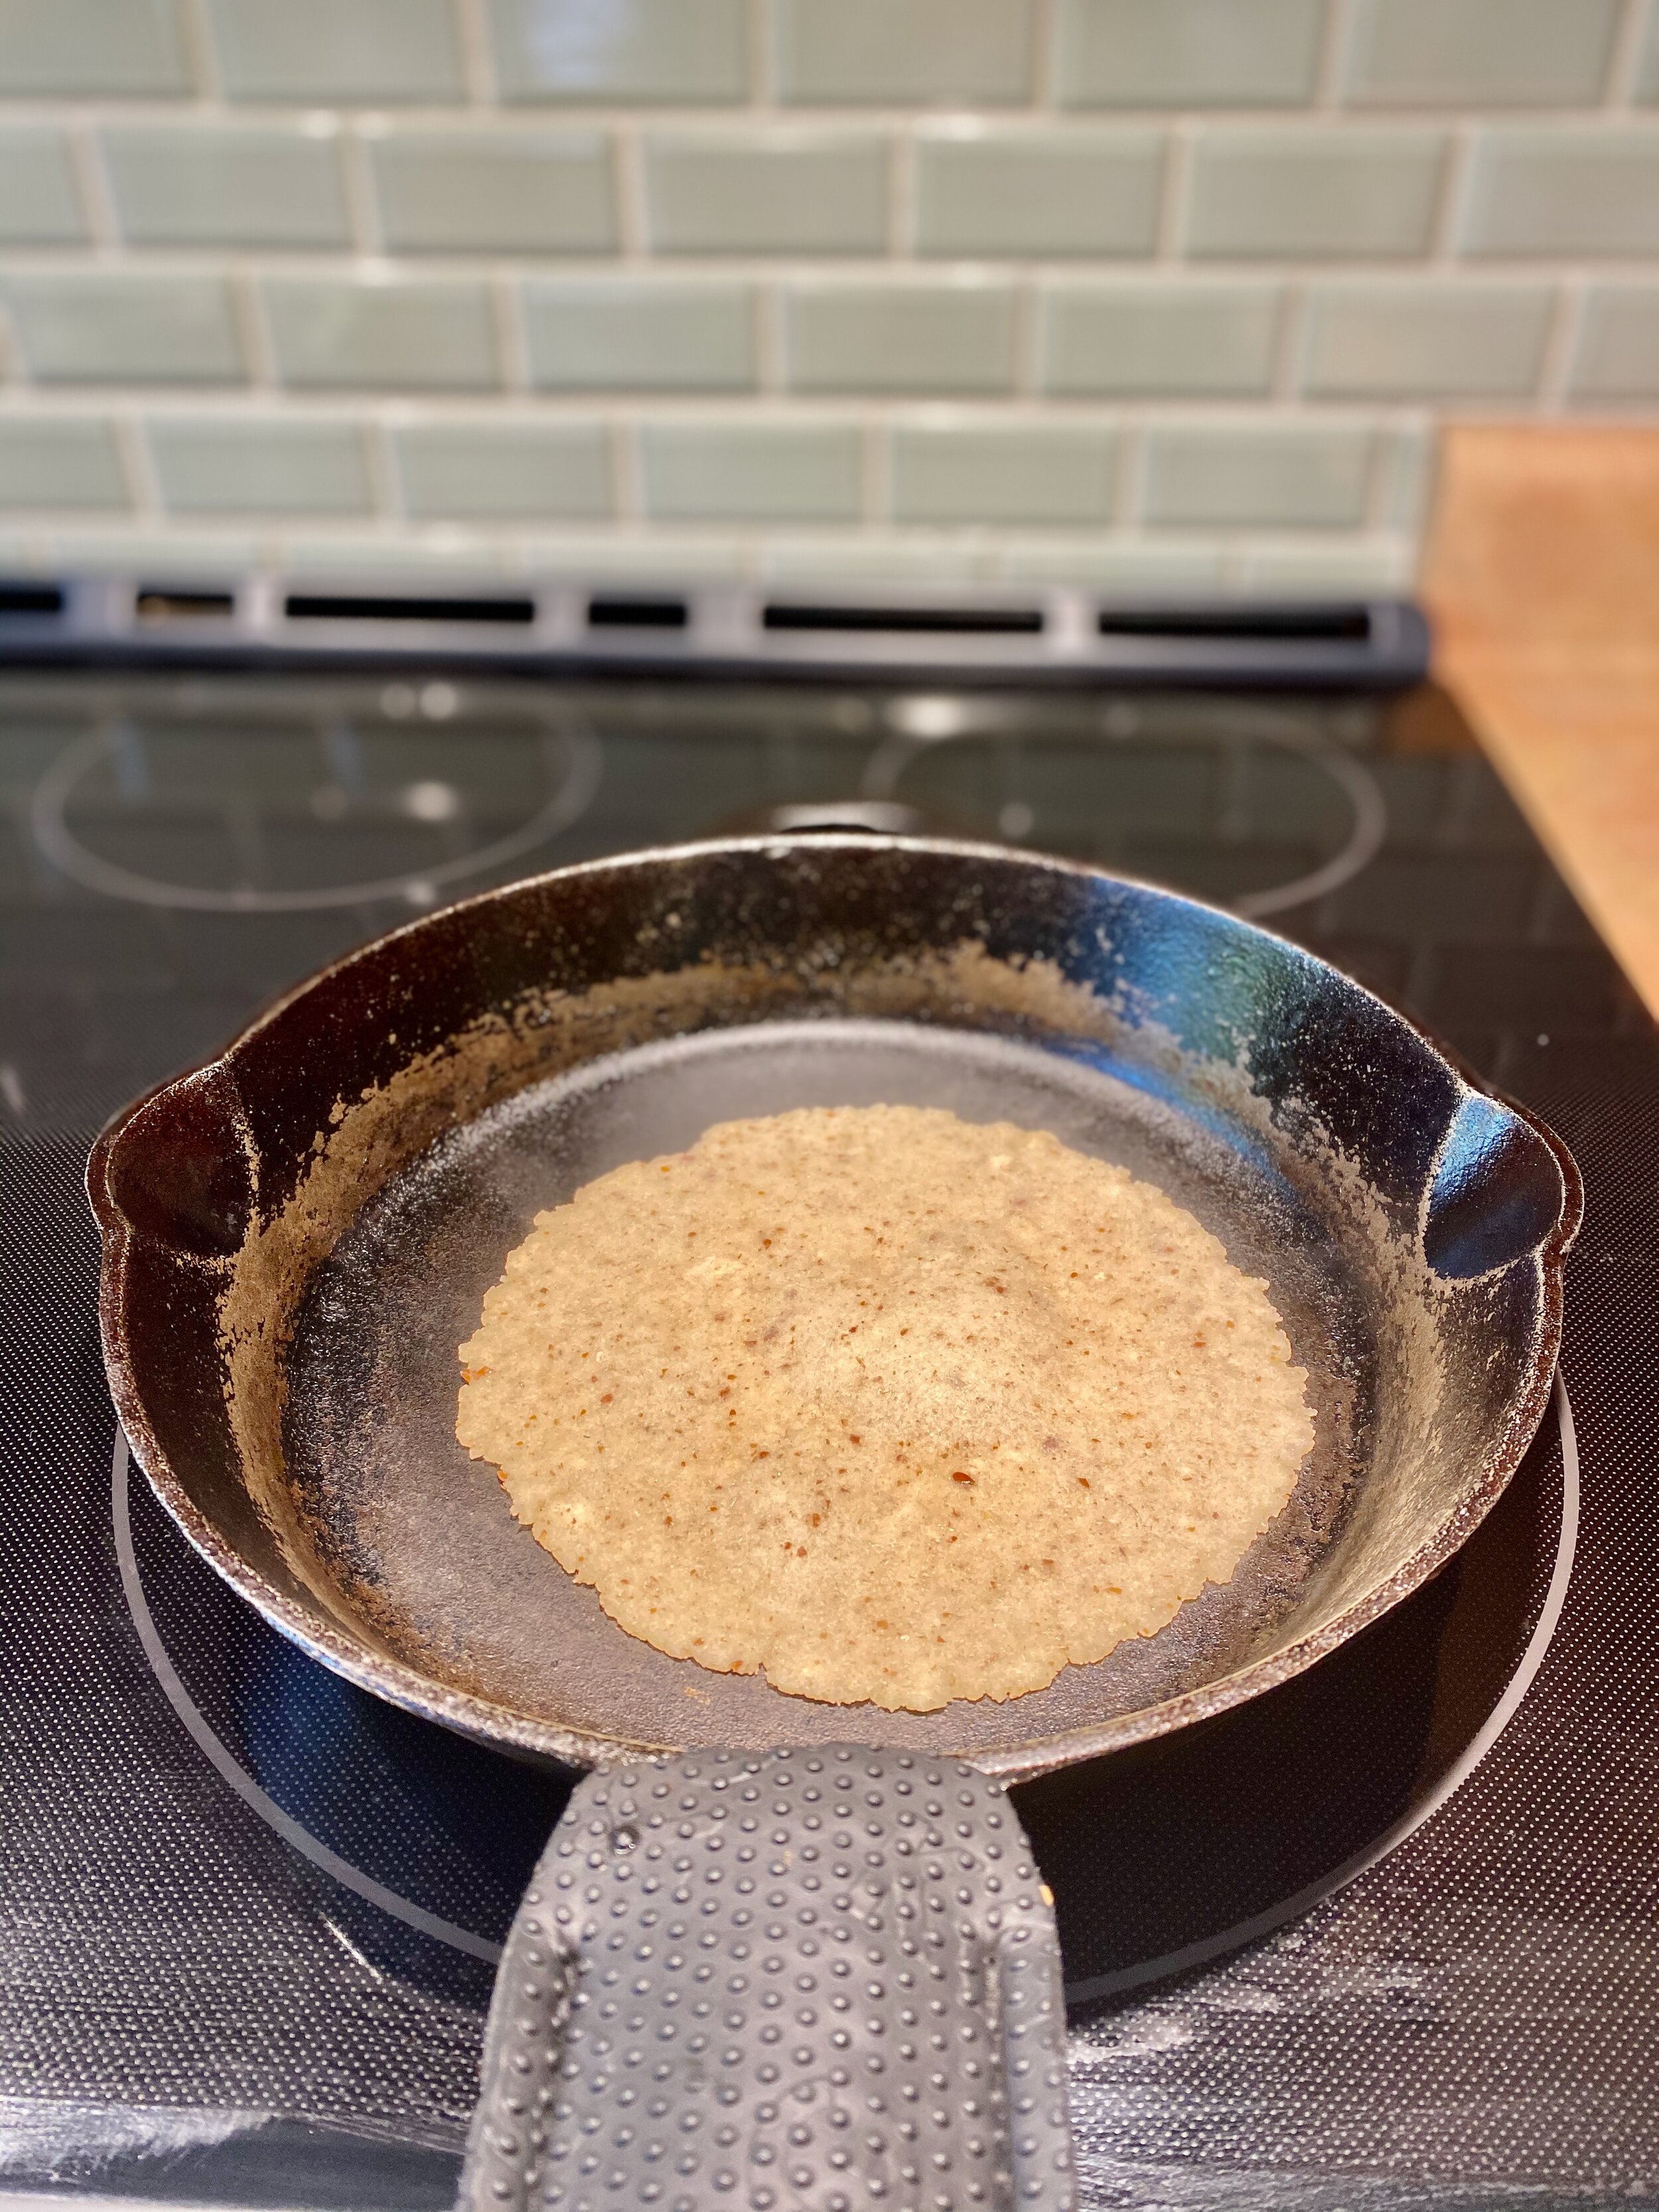
Heat up a crepe pan or a small (8” pan) non stick green pan, add a teaspoon of butter or coconut oil

Add a little less than ¼ cup of the batter to the pan and immediately pick up the pan and swirl it to coax the batter into an even layer on the bottom of the pan. Cook the crepe for a minute or so on one side then flip and let it cook for another couple of seconds. 

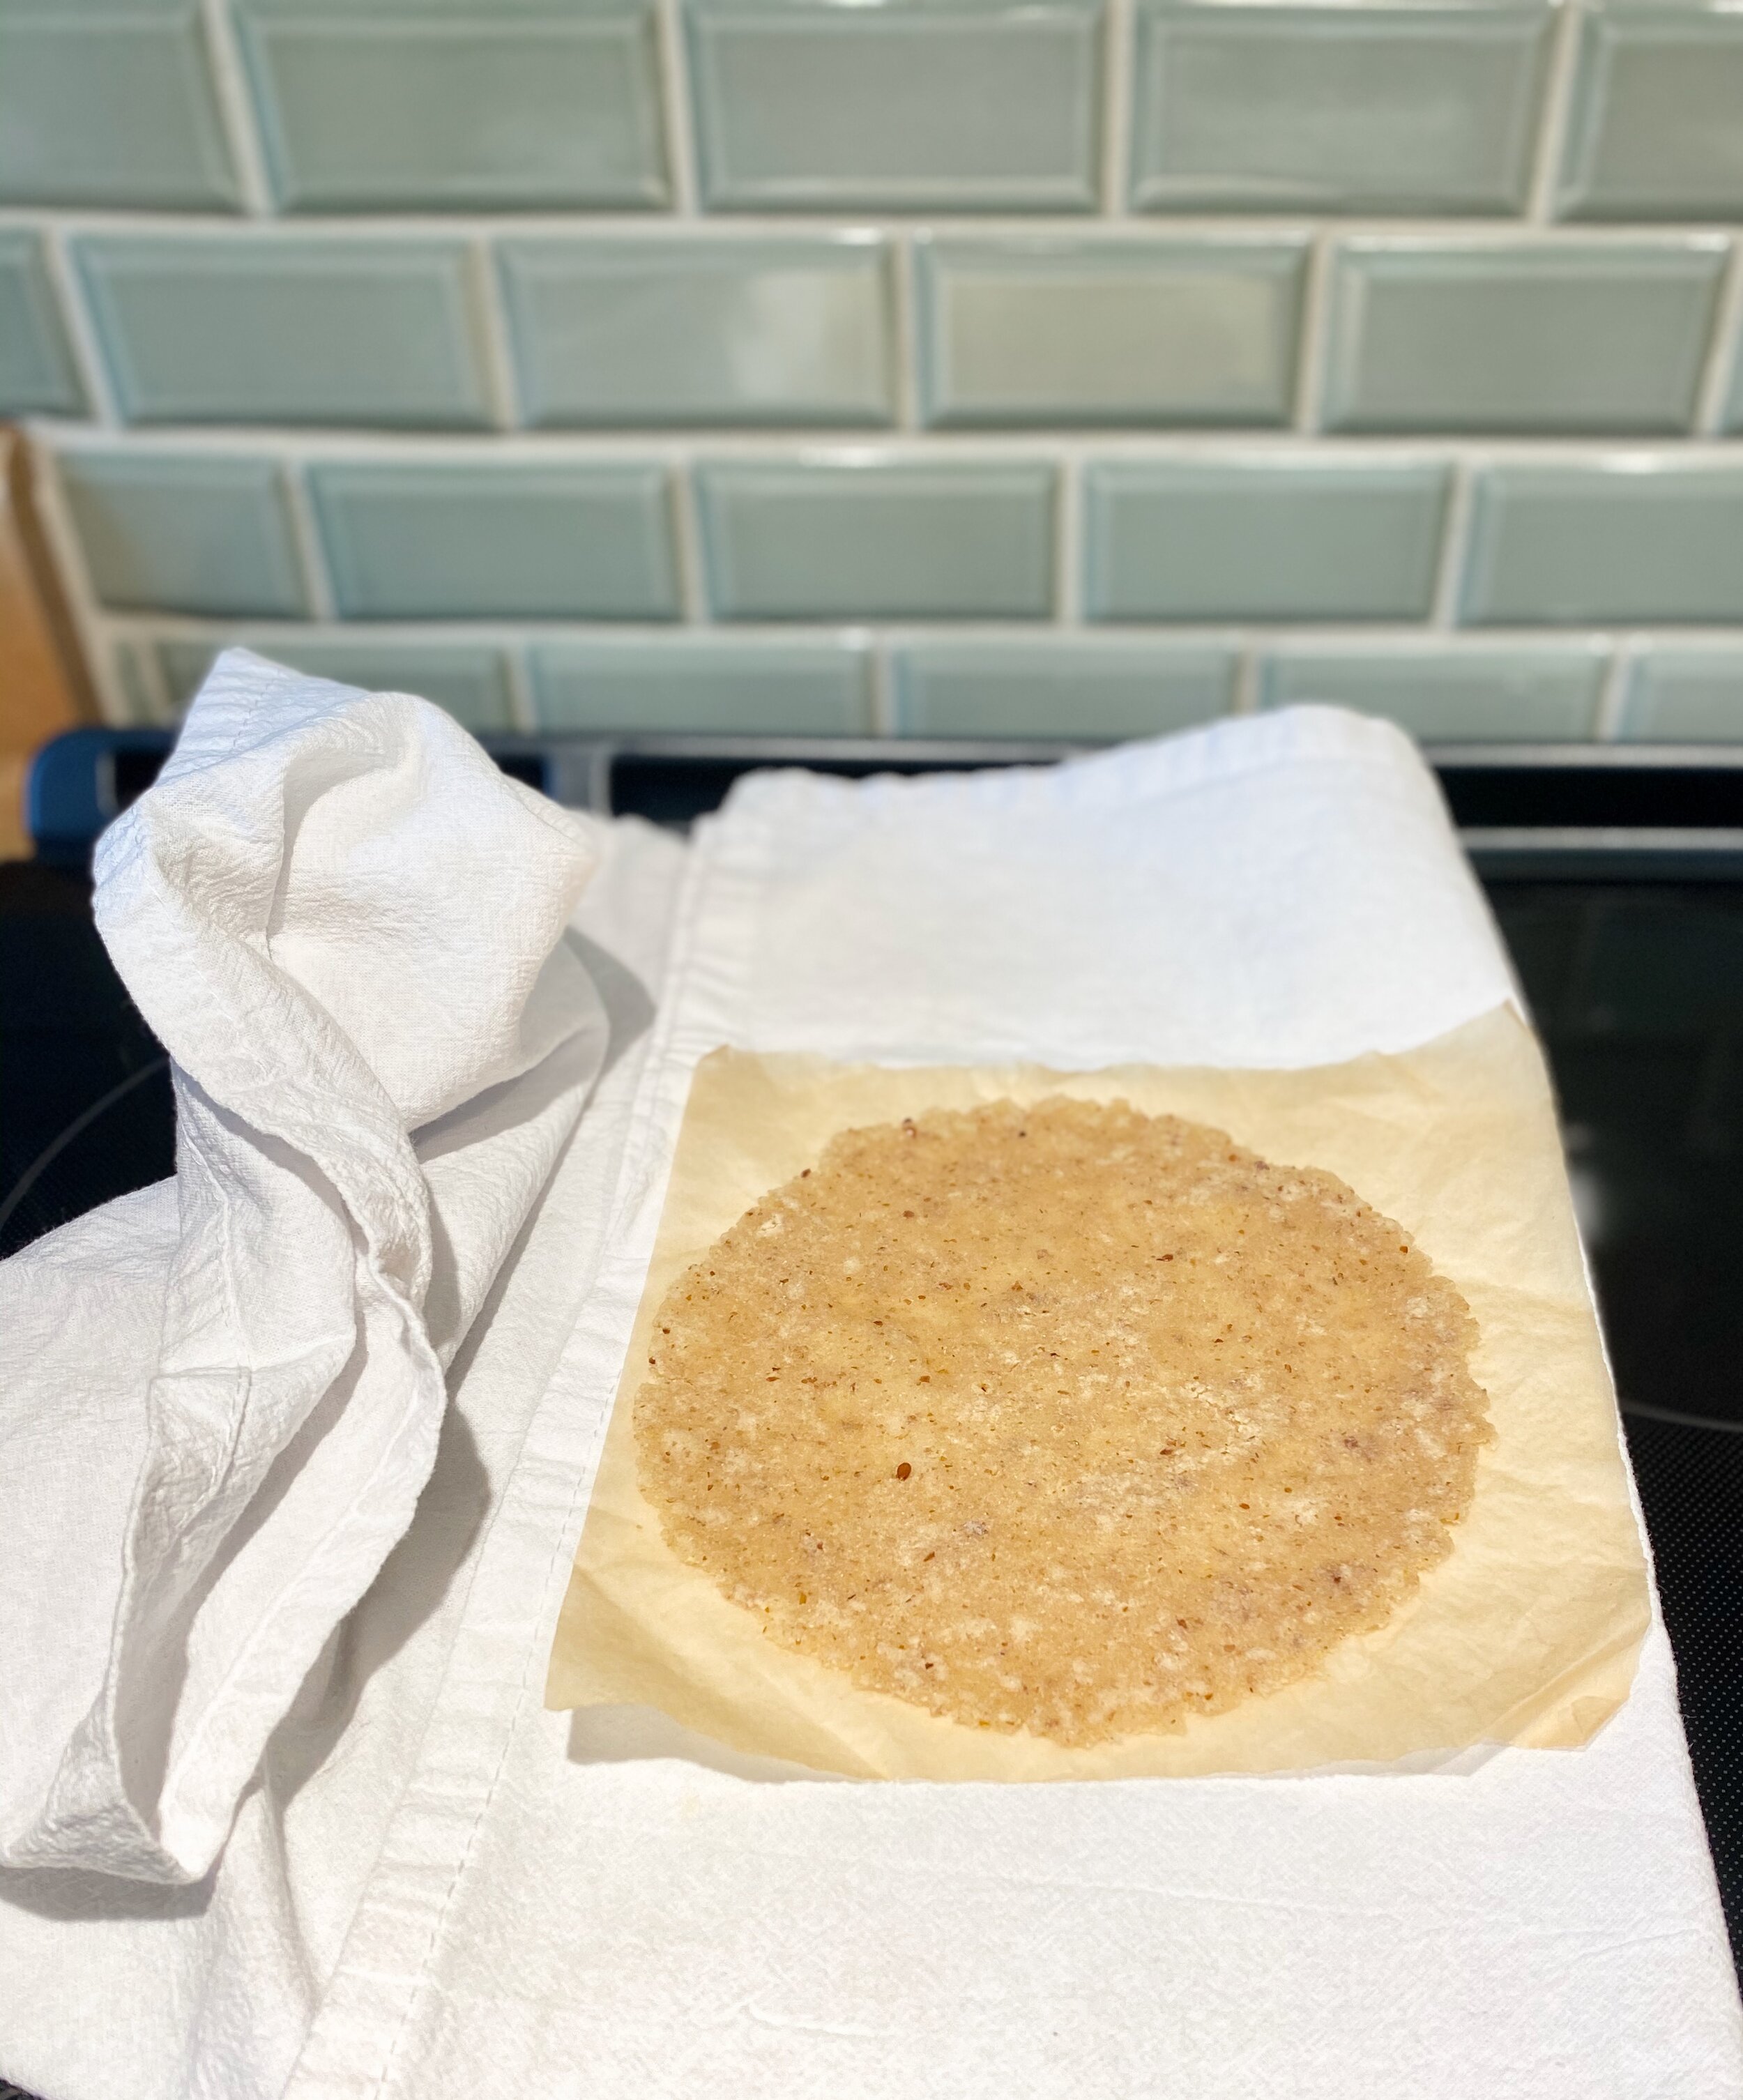
Remove the crepe and continue with your next crepe. Stuff those babies with whatever your little heart desires, sweet or savoury.
Once cooled, store the crepes in an airtight container and refrigerate for up to 4  days.

Grain free crepes.jpeg

Cassava Tortillas

Who misses soft and chewy tortillas when you went gluten free? ME me me!!! I can’t believe how easy these are to make and how delicious they are. They store quite well in a glass storage container and when you are ready to reheat them just pop them in the oven wrapped in parchment and foil for a couple of minutes.

Yield 6 wraps or 12 taco size tortillas
Gluten free, dairy free, grain free, paleo

Ingredients
¾ cup cassava flour
½ teaspoon salt
2 tablespoons psyllium husk
1 tablespoon brown flax meal
1 cup warm water
2 tablespoons olive oil

Method
Combine all of your dry ingredients into a medium size bowl and stir together.
Add the olive oil to the warm water and mix it into the dry ingredients. You can stir with a spoon or use your hands. The mixture will seem wet at first but it will suck up all of the moisture quickly.

Form a cylinder and cut into either 6 or 12 pieces depending on what size you would like. Roll each piece into a ball (this does not have to be perfect) and place a dry dish towel over the dough. Meanwhile, warm up a cast iron pan on low/med heat. You don’t want your pan smoking, it will burn the tortillas. You may have to play with the heat depending on your stove top.

Line your tortilla press with either 2 pieces of parchment paper or a zip lock bag that you have cut in half. Place a ball in between the pieces of parchment paper or the zip lock bag. This is so you can peel off the tortillas easily and won’t stick. Press down with your tortilla press, rotate the paper or bag 180 degrees and press again to ensure you are getting a nice thin round tortilla.

Cassava Tortilla

Place the pressed tortilla and paper onto the palm of your hand, remove the top side of the parchment and flip the tortilla onto your other palm and peel off the bottom piece of parchment, place it into the hot cast iron pan by gently flipping it onto its back side so you don’t have to peel it off of your hand. 

Cook on each side for about 30 seconds to one minute. Press another tortilla while one is cooking. You don’t want them to be crispy. Once the tortilla is ready, place it onto a clean and dry dish towel and cover it until the next one is done. I like to place pieces of parchment paper  in between each tortilla within the dish towel so they don’t stick. By separating them individually and  covering them with a dish towel will help keep them soft and moist. Serve and love me long time.

Braised Red Cabbage and Apples

Braised cabbage, one of my favourite vegetable dishes served with a delicious local, organic sausage and hot mustard. If i’m feeling naughty I may even add some gluten free perogies and grass fed sour cream. Ya, I said it. Braised cabbage has a sweet and subtle sour flavour to it thanks to the apples, maple syrup and apple cider vinegar. I love using bone broth as my liquid because any way I can add more homemade bone broth to my diet, I’ll do it. The bone broth is gut healing and your liver will LOVE the cabbage and onions.

6 cups red cabbage (shredded or thinly sliced and chopped)
⅔ cup apple or 1 medium apple  (peeled and diced small) 
1 cup onion (diced small)
½ teaspoon dry thyme
1 tablespoon maple syrup
1 tablespoon raw apple cider vinegar
2 teaspoons dijon mustard
½ cup bone broth
1 tablespoon butter
½ teaspoon salt
½ teaspoon pepper

Method

Heat a small to medium dutch oven pot, add the butter, onion, salt and pepper. Place the lid over the pot and allow the onions to become soft, this should take about 2-4 minutes on medium heat.

 Add the rest of your ingredients, stir together, cover with the lid  and braise the cabbage on low for 45-60 minutes. You will know it’s ready when  the cabbage is tender and fragrant.


braisedredcabbage_2.jpeg

Gut Friendly Potato Salad

Who would have thought that delicious, creamy potato salad could actually be good for your gut microbiome. The reason why potato salad can be good for you is because you are cooling the potato before you eat it. By cooling the potatoes you are creating something called resistance starch and that helps feed your gut microbiome. Cool right? The reason why this baby is so much better for you than regular potato salad is because I am using raw fermented pickles by Bubbies which also feed your gut microbiome, and I am not using a traditional mayonnaise base for my dressing. Most commercial mayonnaises contain terrible inflammatory oils that just destroy the health benefits of potato salad. If you make your own mayonnaise with good quality organic cold pressed olive oil or avocado oil, then go for it. I hope you enjoy this healthy version, it will keep in the refrigerator up to a week.

½ cup red pepper (dice small)
1 cup celery (diced small)
¾ cup green onions (chopped thin)
½ cup *raw fermented dill pickles (chopped small)
5 cups cooked cooled potatoes (skin off, chopped medium)
1/3 cup parsley (chopped)
2 hardboiled eggs (peeled and smashed with a potato masher)

Creamy Dill Dressing
¼ cup fresh dill (chopped)
1 ½ teaspoons garlic (minced)
½ teaspoon onion powder
1 1/2 teaspoons raw honey
½ cup grass fed sour cream (full fat)
¼ cup plain grass fed yogurt (thick Greek style version if possible)
1 tablespoon raw apple cider vinegar
½ teaspoon salt
1 teaspoon Dijon
pepper to taste

Method
Peel and cut your potatoes, simmer for about 10 minutes or until they are tender and ever so slightly brake apart with a fork. While the potatoes are simmering prep the rest of your potato salad ingredients and add them to a large bowl and set aside. Next make your salad dressing, use a mason jar and hand blender, add all of your ingredients except the freshly chopped dill and blend together. Stir in the dill and add salt and pepper to taste.

Once the potatoes are done strain them and add them back into your pot. Add about ½ teaspoon of salt to the potatoes while they are still warm, put the lid on the pot and just shake the pot around to break up the potatoes a little and mix them with the salt. (This does make a difference in the final product)
Once the potatoes have cooled, add them to your bowl with the other ingredients and then toss with as much dressing as you would like.

Potato_salad.jpeg

Marinated Asparagus

It’s asparagus season and it doesn’t last long so get them while you can. Asparagus contains a beautiful fiber named inulin and it helps nourish your microbiome. If there is one thing you want to focus on to get to your optimal health levels, it’s working on your gut microbiome.

IMG_8064.jpg

A bunch of asparagus (lightly steamed)
1 teaspoon dijon
3 tablespoons olive oil
2 tablespoons balsamic vinegar
1 clove garlic (minced)
salt and pepper to taste

Method
Lightly steam your asparagus and make sure they still have a crisp to them, it probably takes 2 minutes to steam these babies. Place them in a cold water bath after they have been steamed to retain their colour.

Make your marinade in a small bowl and toss the asparagus with it. Let sit for a couple of hrs if possible and enjoy.
These babies will last in the fridge for a good 4-5 days no problemo.

Homemade Kimchi

Homemade kimchi is easy and fun to make and the best part is that it keeps your gut friendly bacteria strong to fight off dis-ease in the body and keep your immune system healthy. Traditional kimchi usually has a "rice porridge" as part of the seasoning paste and shrimp paste, but I wanted to make this grain free so I did without the rice porridge and shrimp paste, because I couldn't find good quality shrimp paste.
*Note- when cutting your veggies up, think of how you would want them to fit into your mouth.

1 cup carrots (sliced thin)
2 cups daikon radish (peeled, sliced into half-moons or matchsticks)
1 kg napa cabbage (sliced into medium sized pieces)
Sea salt
2 green onions (add at the end)

Seasoning:
1/2 cup Korean red pepper powder
1 tablespoon fish sauce
1 clove garlic
1/4 cup onion
1-2 teaspoons fresh ginger
2-3 teaspons raw organic sugar
Sometimes I add 1 Thai chill cause I like it spicy!

Method
Cut and wash your vegetables. 
In a large bowl add your napa cabbage and sprinkle about 1 1/2 to 2 tablespoons of sea salt over the cabbage and lightly rub it into every piece of cabbage. Allow it to sit for about 45 minutes to an hour (until the cabbage softens but still has a crisp to it)
In another bowl add the daikon and carrots and toss them with 1 teaspoon sea salt and do the same process as above but only leave them for about 25 minutes.

While you are waiting for the vegetables to soften, make your seasoning mixture; I like to add all of the seasoning ingredients to a food processor with the small bowl attachment and blend it all together.
*Note- It will be a thick like paste. If you do not have a food processor be sure to mince your garlic and ginger and grate your onion then mix well in a small bowl with everything else.

Rince your carrot/daikon well (like 2-3 times) under cool water, squeeze out excess water and add to a large bowl. Do the same with the cabbage once it is ready.
Combine the veggies, green onions and paste, put on some rubber gloves (highly recommend) and begin to lightly rub the vegetables with the paste until a little liquid starts to form. 
You may think it isn't enough paste, but trust me, when they start to ferment they release liquid and begin to make a wonderful sauce.

Add your beautiful kimchi to mason jars, being sure to pack down the kimchi as much as possible in order to get out as much liquid as possible (this may take a while). Leave some room at the top of the jar and try to have some of the liquid covering the top. Cover the jar with a loose fitting lid/ finger tight. Write the date on the jars with a sticky note and allow it to sit on your counter for 2-4 days. Then add them to the fridge and begin enjoying the deliciousness.

Bon Appetit!
 

Wild Rice with Cilantro and Lemon

1 cup wild rice
5 thin slices bacon or ¼ cup pancetta (omit if vegetarian or vegan)
1 cup roasted butternut squash
1 tablespoon coconut oil
¾ cup onion (small dice)
2 cloves garlic (minced)
½ cup fresh cilantro (chopped coarsely)
1/3 cup roasted, unsalted cashews
Sea salt and fresh ground pepper to taste
1 tablespoon lemon zest
Fresh lemon to finish

Method:
Note- This is not strict low carb
In a medium size pot, add the wild rice and 2 ¾ cup water.
Bring rice to a boil with the lid on, then reduce the heat to low.
Simmer for about 45 minutes to 1 hour. You will see the wild rice start to open up, and most, if not all of the water will be gone. Strain the rice after it is cooked, and set aside.

While the rice is cooking, heat the oven to 350 degrees Fahrenheit and peel the butternut squash, cut it in half lengthwise and remove the seeds, cut your squash into small to medium sized pieces, season the squash with sea salt, fresh ground pepper and a drizzle of coconut oil.
Bake the squash on a parchment paper lined baking sheet for about30-45 minutes, depending on how big your pieces of squash are. *Do not overcook the squash, you can pierce the squash with a knife after 30 minutes, if the squash is al dente, take the squash out.
You will need 1 cup for this recipe, freeze the rest of the squash or use it in an omelet in the morning, or make delicious squash quesadillas, or add it to your favorite salad. In other words, it won’t go to waste!

In a large sautée pan, heat 1 tablespoon of coconut oil, add the chopped pancetta and cook for 2-3 minutes on low to medium heat.Add your onions and garlic, season with salt and pepper and allow the onion and garlic to get soft and fragrant.
Add your rice and chopped squash and cook on medium heat for another 1 to 2 minutes.
Remove the rice from the heat, add your cilantro, cashews and lemon zest
Season with sea salt and pepper and squeeze a little fresh lemon juice on the rice for some LOVE.

Cook Outside the Box

Add a fried egg to the top of this rice and have a delicious and nutrient dense breakfast.
Instead of pancetta, add some chicken sausage into the mixture.
For my vegan crew, omit the pancetta and top the rice with a bunch of freshly steamed kale with virgin coconut oil.

Red Lentil Dahl with Roasted Vegetables

1 tablespoon organic coconut oil
1/2 cup onion (small dice)
1 large clove garlic (minced)
1 cup red lentils
2 1⁄4 cup vegetable stock or organic chicken stock
2 tablespoons tomato paste
2 tablespoons Madras curry paste
Season with sea salt
3 tablespoons organic sour cream (optional)

Method:
Note- This is not strict low carb
In a saucepan, melt the coconut oil and sautée the onion over medium heat for about 3 minutes.
Add the garlic, tomato paste and curry paste, sautée for another 2 minutes.
Add your lentils and stock, cover and simmer on low for 15 minutes stirring occasionally.
Take the dahl off the heat and let it sit covered for 10 minutes to finish cooking.
Top your dahl with sour cream, fresh mint or cilantro and season with sea salt.

Cook Outside the Box

As seen in the picture above, I served this delicious warm dahl over steamed kale, roasted sweet potato wedges and roasted cauliflower.
Clean and de-stem the kale, I like to steam about 1 1/2 cups of fresh kale per serving. Steam the kale for about 3-4 minutes or until tender, and then toss the nutrient dense steamed kale with a little organic coconut oil, sea salt and garlic powder.
I roasted the cauliflower florets and sweet potato wedges with a little coconut oil and Indian red curry powder.
Follow these directions on how to roast vegetables, Roasted Vegetables.
Put all of these delicious and powerful foods together and you have the above picture and a happy belly.

P.S The dahl freezes like a dream, so double up yo!

Bon Appétit!